
The Magic 13 Steps To Outlining a Truly Amazing Course
Nov 10, 2023|
Creating a course can seem scary. But the reality is that breaking it down into small, manageable steps can turn it from something that seems daunting into an achievable goal. When creating my courses, I've tried many different techniques before landing on a process that works really well. I call it “ The 13 Magic Steps," and I know it can work for you, too. Today, I'll explain exactly what's involved in the "13 Magic Steps" and how you can implement this process to create a course that inspires your customers and helps you reach your goals. |
|
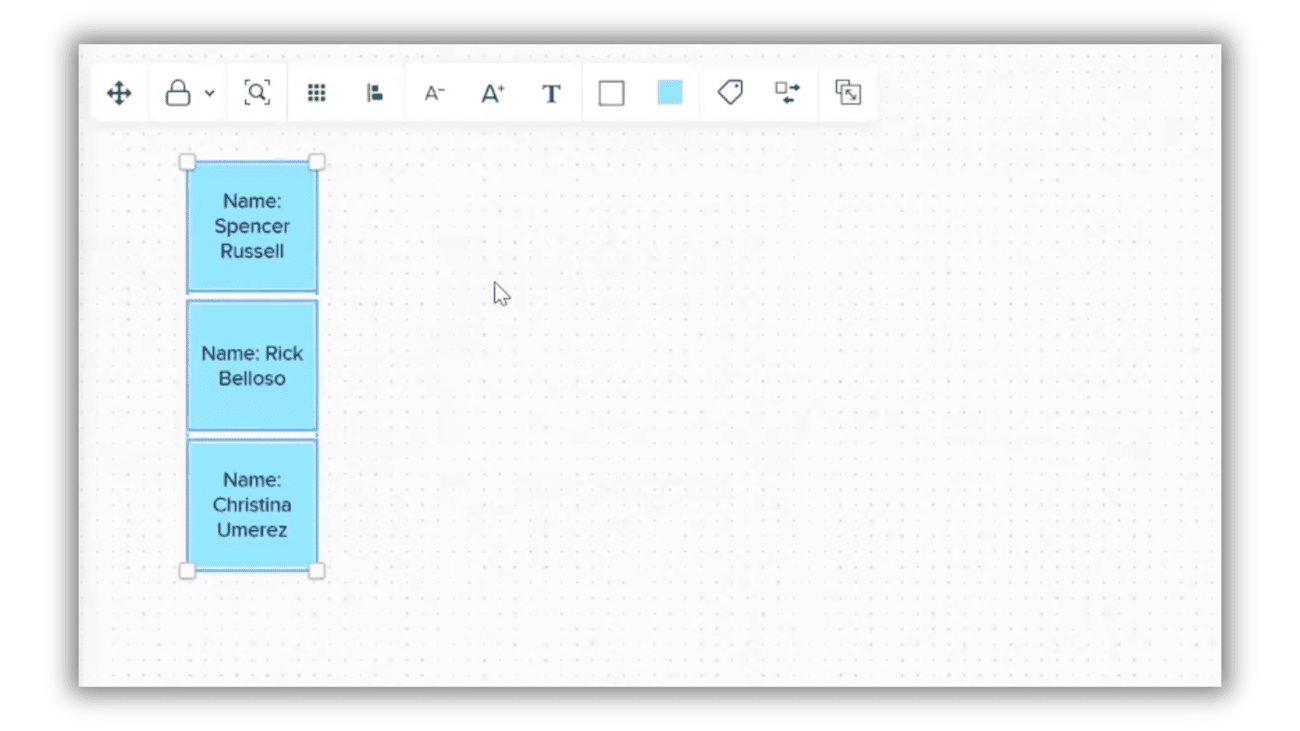
Step 1: Your Ideal CustomerLet’s get started. First, you’ll need to imagine your ideal customer. Visualize them and give them a name. It could be someone you've helped in the past, someone you know personally who could benefit from your course or a fictional customer. I use the software Mural during this process. It’s got a great workflow and will help you visualize your customer’s journey. The free version is more than sufficient for this task.
|
|
 |
|
Step 2: Their Dream Outcome |
|
|
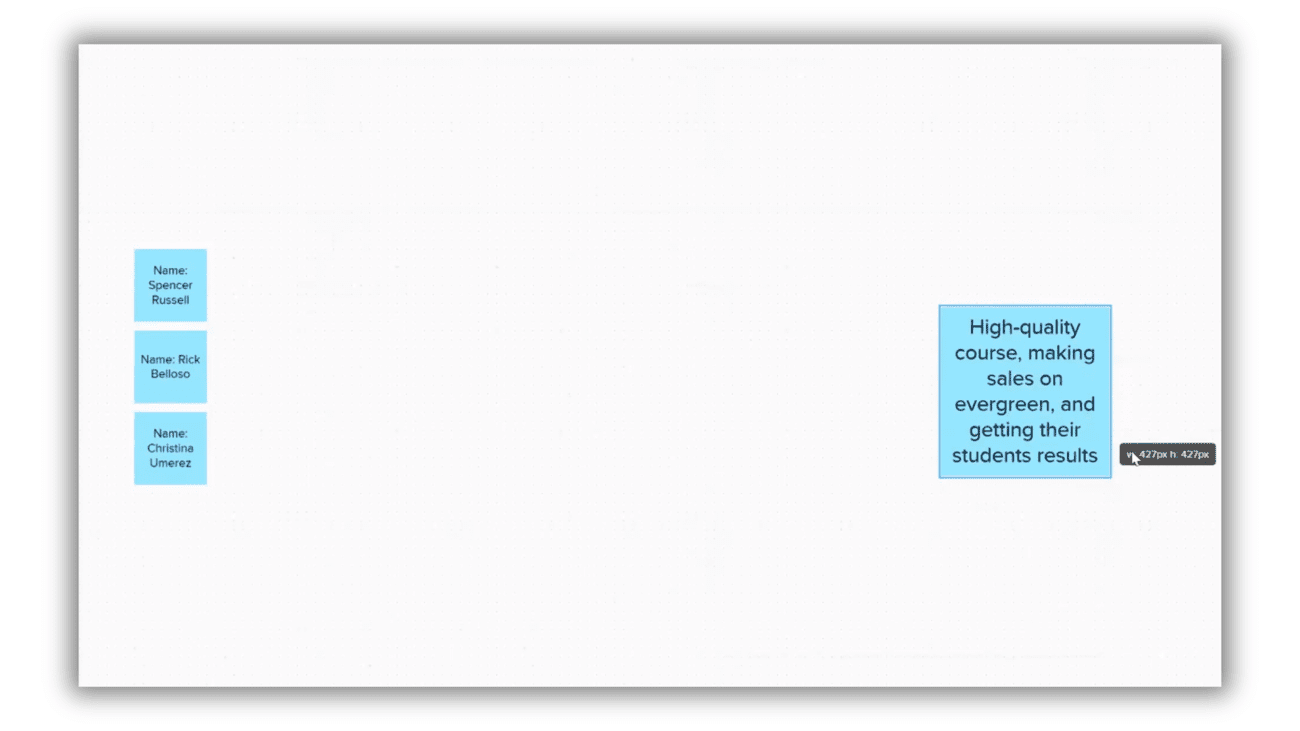
Next, add a sticky note on the right side to represent the true outcome and transformation your ideal customer would be hoping to achieve by the end of your course. As an example, let's consider my "Genesis" course. I’ll add what the course entails and how I’d like to generate income with it. |
|
 |
|
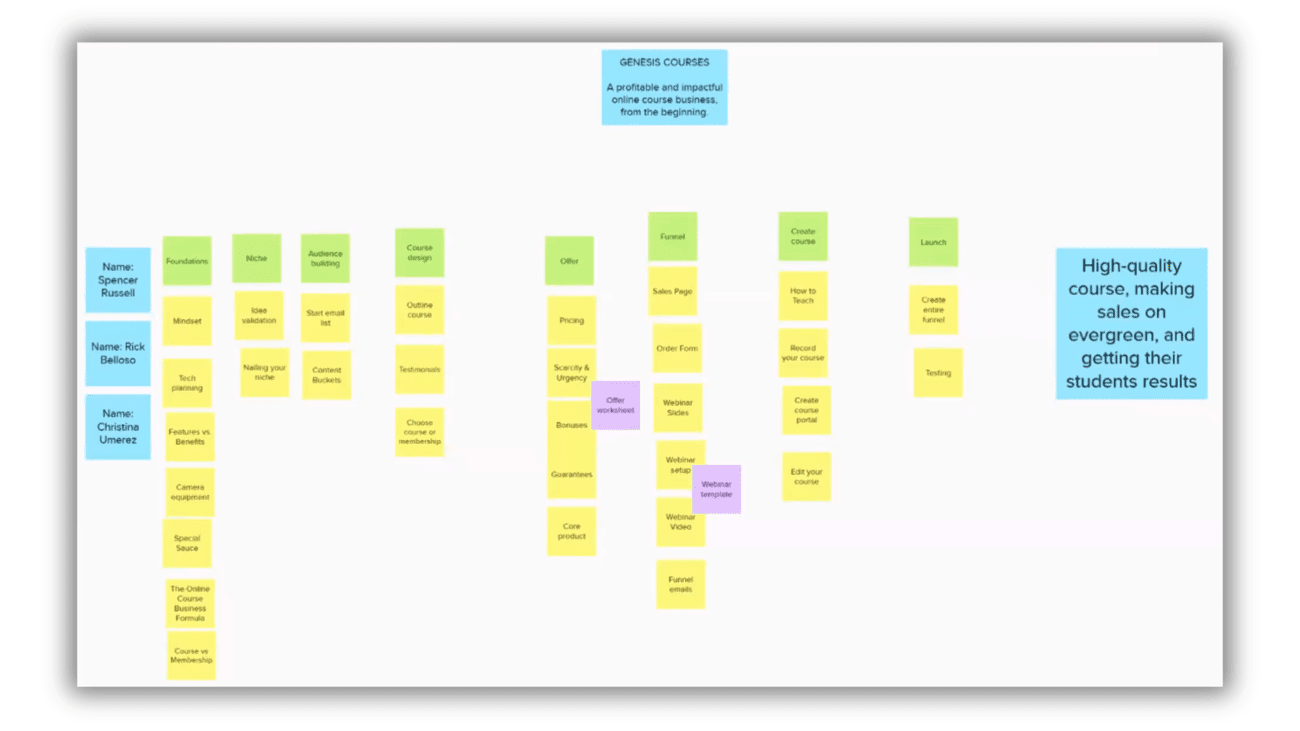
Step 3: Course Name & Tagline |
|
|
Next, at the top of your Mural page, display your course name and tagline. Your tagline should show exactly what your course will provide for your customers. Make it clear and keep it simple. |
|
 |
|
Step 4: One Topic or Idea Per Post-It Note |
|
|
In this step, you’re brainstorming every topic your course will cover. Grab a new color of post-it notes and begin writing down everything you’ll cover in your course. Don't hold back – brainstorm every topic, idea, possibility, and variable. Use this step to get inside your customers' heads and consider every action they must take for you to achieve the desired outcome. |
|
 |
|
|
If you’re not a fan of virtual brainstorming, you can do this exercise in real life. Check out this selfie of me working at an Airbnb, where I took some time out to do this process. I sat down with my post-it notes and started writing. Sometimes, taking a different approach is exactly what you need to get started. Work in whichever way suits YOU best. |
|
 |
|
Step 5: Put In Sequential Order |
|
|
Now that you’ve added all of the steps and lesson ideas, it’s time to put them in order. Lay out the lessons in order from left to right, creating a pathway from the customer to your goal. |
|
 |
|
Step 6: Generate Categories |
|
|
Next, organize your course content using a new color for modules. Group your lessons together under a relevant module and start planning your course content. Typically, you'll have two tiers:
|
|
 |
|
|
I recommend keeping it simple with your color-coding system. Using one color for the modules and one color for the lessons keeps it simple, which will help you keep track of the content. Occasionally, you may need sub-modules to further organize complex content. |
|
Step 7: Break Out Supplemental Materials |
|
|
Next, use a different color post-it note to identify potential supplemental materials in each module. Consider worksheets, downloads, checklists, email scripts, or templates that add value and facilitate your students' journey toward the dream outcome. Ensure these materials genuinely enhance the learning experience or make reaching your goal easier, faster, or more cost-effective. |
|
 |
|
Step 8: Put Your Ideal Customer(s) Through the Path |
|
|
Imagine your ideal customer that you created in Step 1, walking through the pathway. Evaluate the effectiveness of your course pathway. Are there any roadblocks? Anything to add or remove? Think about the real people on the left navigating this path and ask yourself: “Could I make this easier?” |
|
Step 9: Review & Refine |
|
|
Reviewing and refining your content is one of THE most essential aspects of this process. Continuously review and refine your course content and pathway, paying attention to every detail. The more you fine-tune it, the more polished and effective your course will become, ensuring your students have the best possible learning experience. |
|
Step 10: Ask Ideal Customers to Review |
|
|
If you have anyone who could review your course plan, ask them! Reach out to past colleagues, clients, and friends or family. Ask them to review your course outline and give you feedback. Asking people you know, especially if they could potentially benefit from this course, can help you identify any gaps, which will save time in the long run. |
|
Step 11: Transfer to Outline Document |
|
|
Once you're confident your course outline is ready, transfer it to a Google Doc. Utilize Google Docs outline tool to further review and refine your course. This will help you gain a new perspective so that you can start adding more detail. |
|
Step 12: Add Additional Lesson Details |
|
|
Once you've transferred your course outline to Google Docs, delve deeper by adding specific topics and detailed information to your lesson plans. This ensures your students receive a comprehensive and well-structured learning experience. This will help you refine your course, ensuring it meets the needs and expectations of your students while providing an exceptional learning journey. |
|
Step 13: Pull Out Appropriate Bonus Material |
|
|
Examine your customer's pathway and consider offering non-essential items as bonus materials. Remember, a good bonus adds value by making the journey to your dream outcome faster or easier rather than feeling like extra work. |
|
Conclusion |
|
|
In the world of online courses, stepping into the shoes of your customers is essential. Building an online course isn’t just about getting it up and running as fast as possible. It’s about creating a course with real value and impact. While it’s easy to create a course that you think will work, it’s an entirely different experience creating a course with the customer’s needs at the forefront. With these magic 13 steps, you're equipped to educate your students and reach your goals by following manageable, bitesize steps. So, grab your post-its and a pen. Or the Mural software. And get started. I’m rooting for you. -Jacques |
|
|
|
|
|
When you’re ready, there are 2 ways I can help you:
|

